THE BEST Matcha Pinwheels/Scrolls! It has an amazing Matcha flavour, airy texture yet still gooey with a crunch and so damn addictive, you'll be fighting over them! This recipe is easy to follow and is sure to impress. Oh and it's also vegan so everyone can enjoy it !
This recipe is honestly by far the best thing I have made. It truly incorporates the Matcha flavour with an amazing dough and just enough sweetness to complement our ingredient grade's slight bitterness. If you're a Matcha lover you HAVE to try these and share them around.
I got continuously cheesy with the side title for the steps. I apologise in advance, I just couldn't help myself..
Prep time: 2 1/2 hours
Baking time: 25 minutes
What you will need to make 12 Matcha pinwheels:
Ingredients
Your dough will need
- 1/2 cup warm water
- 1 tsp caster sugar
- 1 1/2 tsp slightly heaped instant dry yeast
- 2 1/2 cups + 3 tablespoons high grade white flour, plus more for kneading
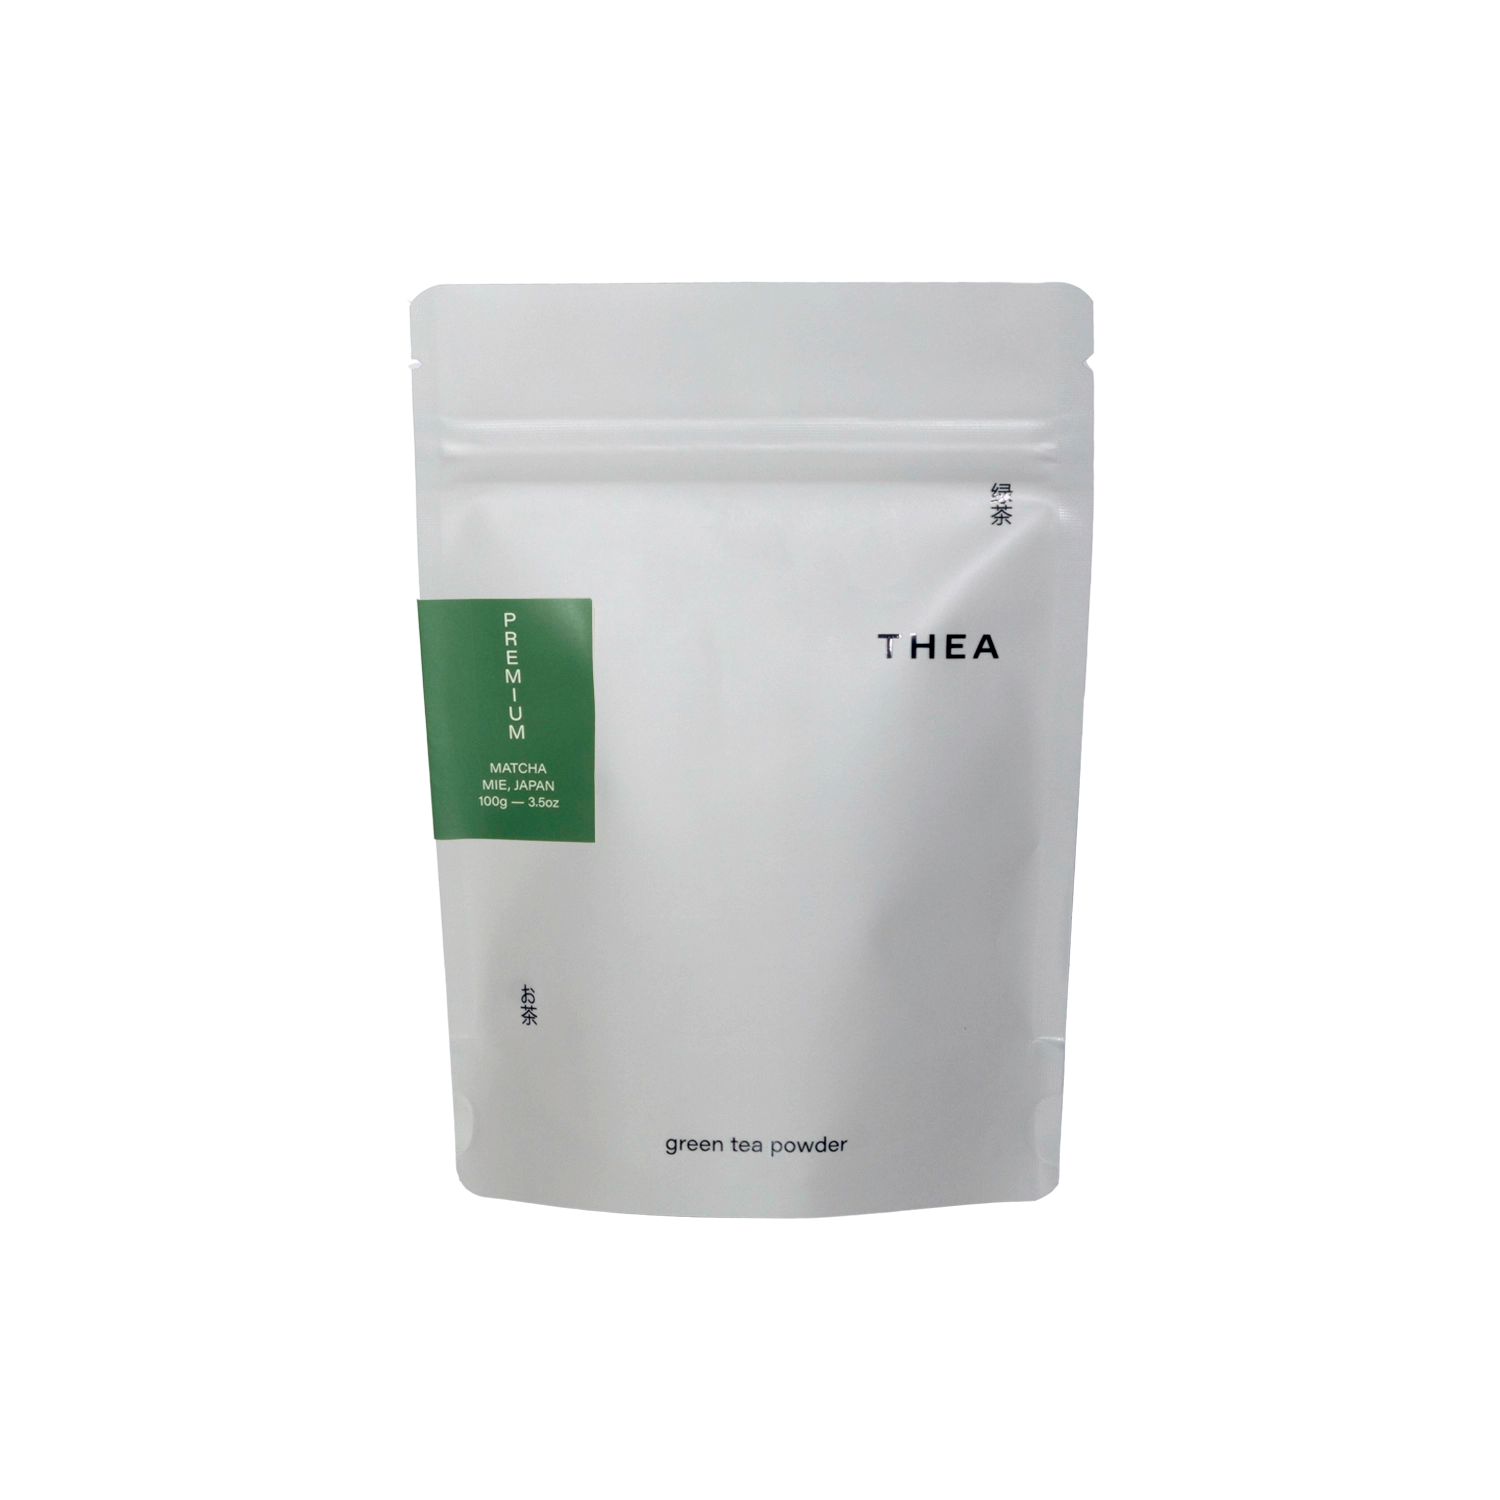
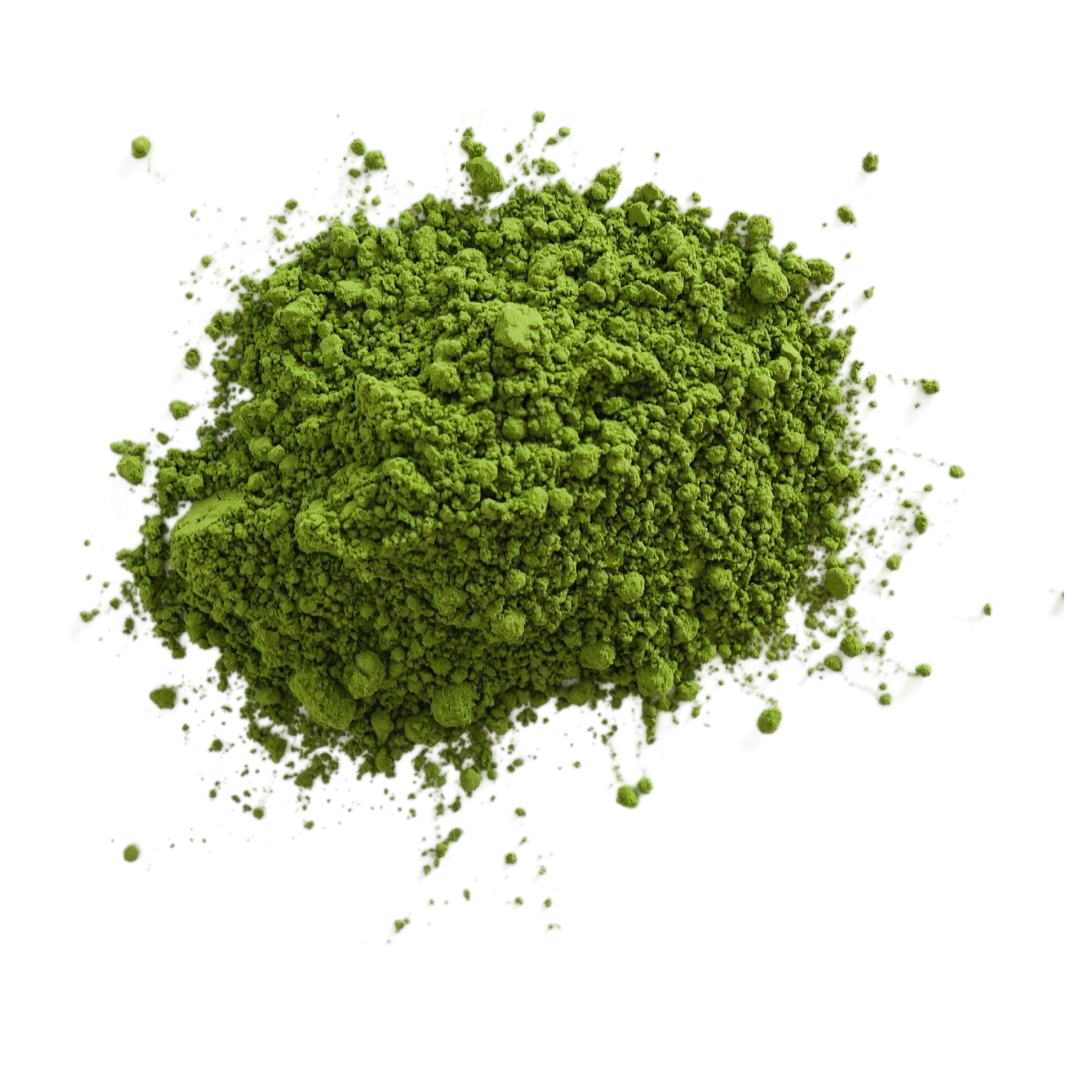
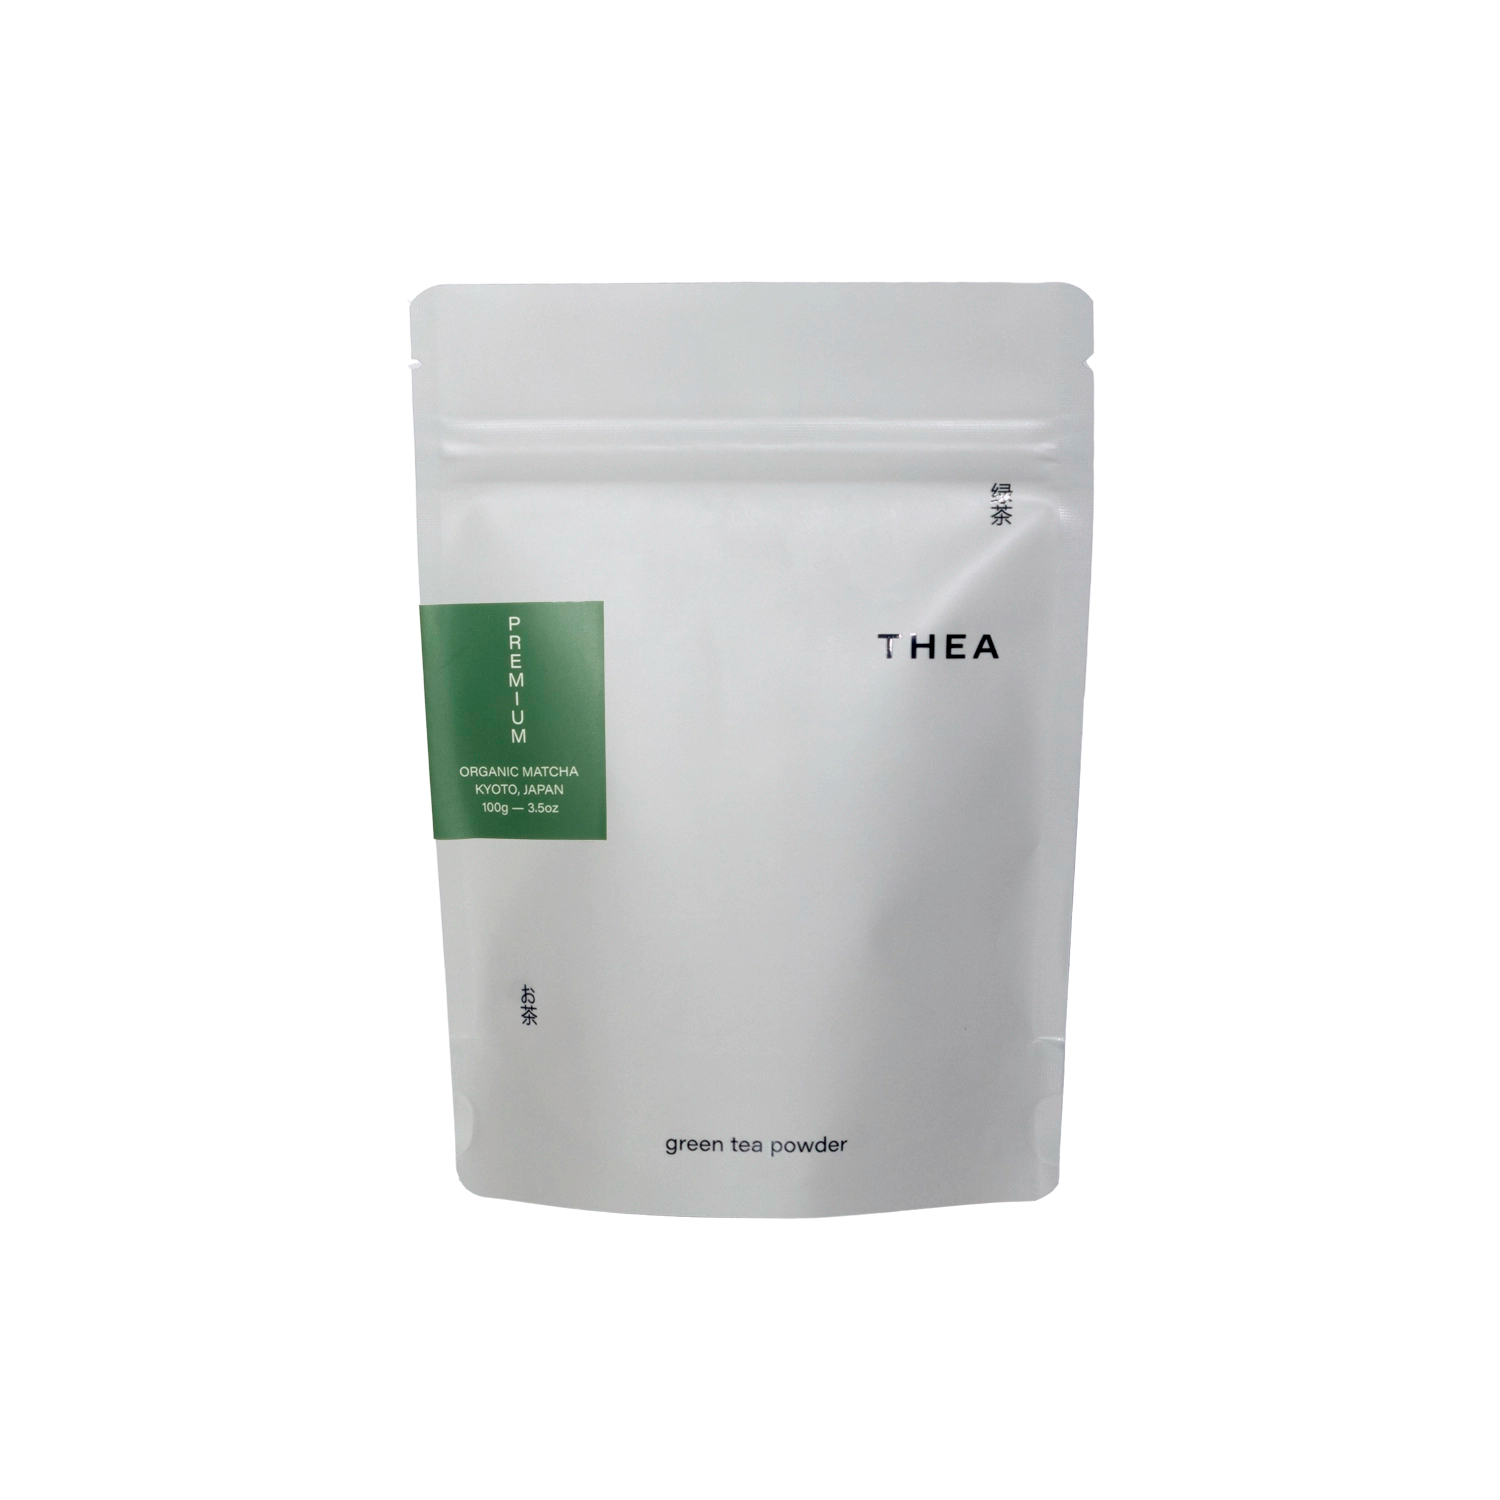
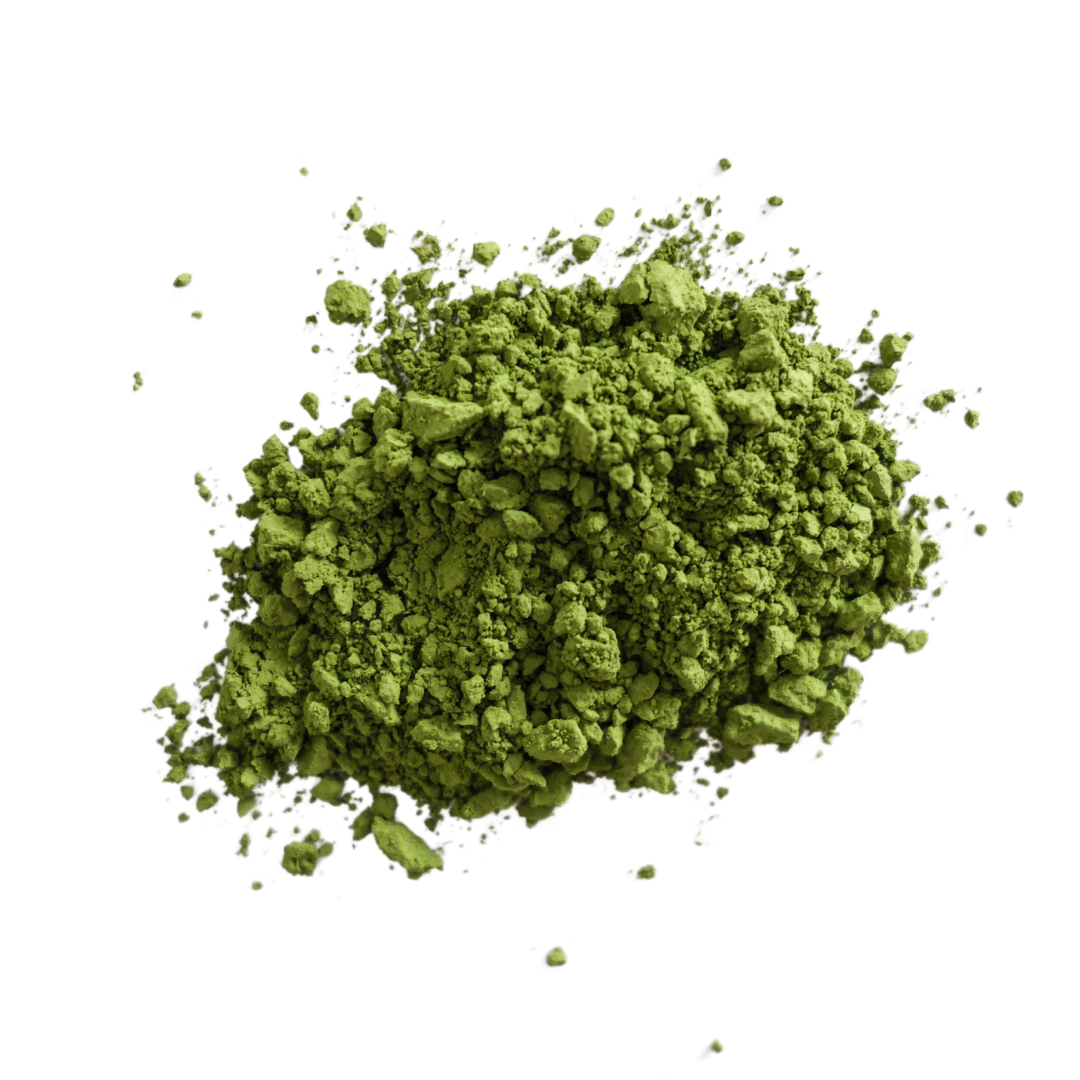
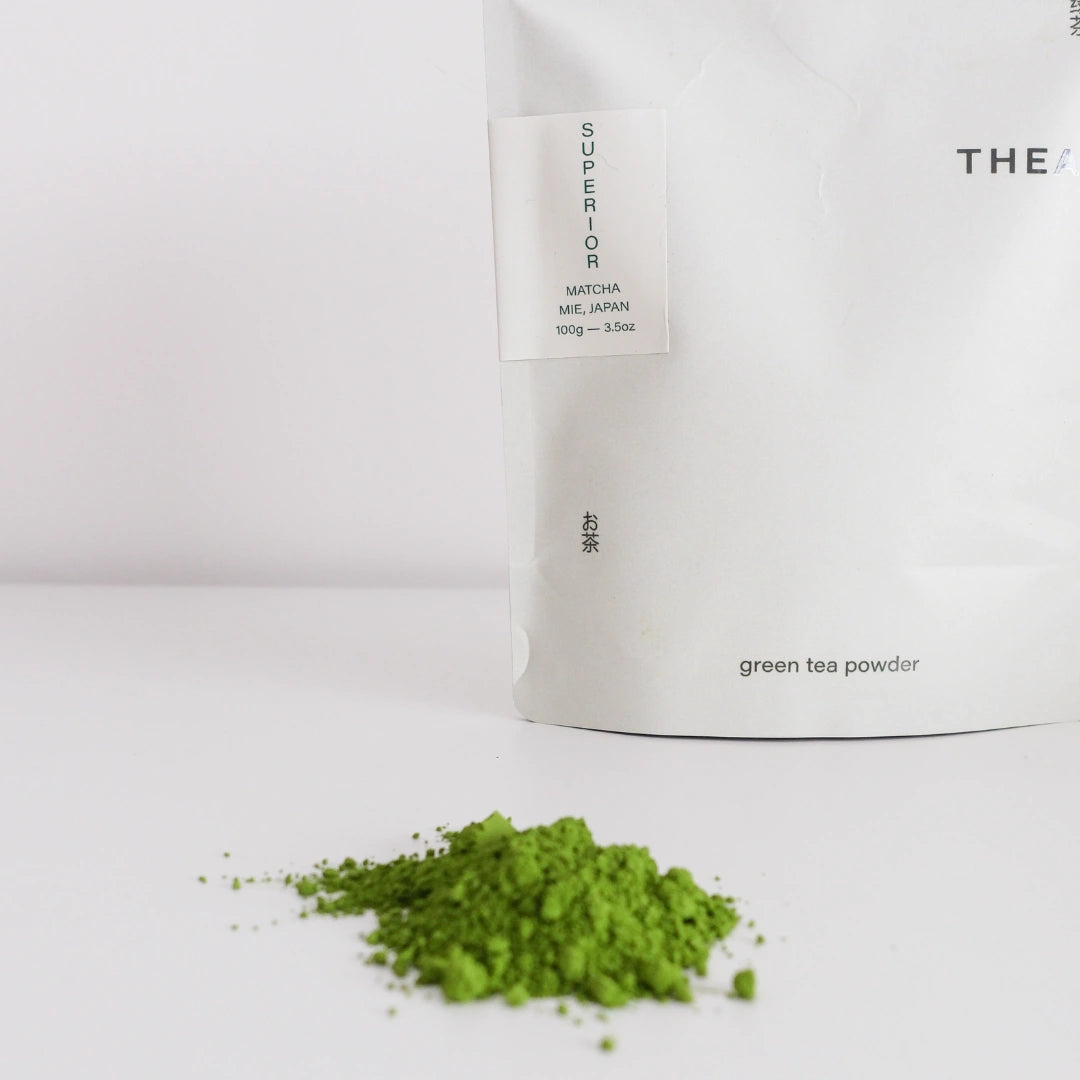
- 1 Tbsp Thea Matcha - Ingredient Grade
- 1/3 cup vegan butter
- 1/2 cup soy milk
- 1/3 cup caster sugar
- 1 teaspoon sea salt (or to your taste - I always add a bit more)
- 3-6 drops of green food colouring gel (optional)
- Some olive oil to grease bowls and pans
Matcha sugar filling
- 1/2 cup caster sugar
- 2 tsp Thea Matcha Ingredient Grade
- 1 1/2 Tbsp melted vegan butter
Pan Sauce
- 2 1/2 Tbsp melted vegan butter
- 1 1/2 Tbsp brown sugar
- Pinch of rock salt
Icing
- 1 Tbsp melted butter
- 1 Tbsp sugar
- 1/2 tsp Matcha
Garnish
- A good amount of Matcha to sprinkle over
Gadgets
- Large bowl and 2 smaller bowls
- Wooden Spoon, Spatula and some other spoons on hand in case
- Measuring utensils
- Saucepan
- Rolling Pin
- Sieve
- Small brush for distributing butter ( or just the back of a spoon)
- Serrated knife
- Plastic Wrap or damp tea towel
- Silicone Mat for kneading and rolling- highly recommend this! / or just use a clean working surface
- Casserole dish/ cake pan depending on how you want to serve these
Let's Start!
Step 1 - Foam me up
Prepare your dough. Starting with the yeast and flour base.
Mix warm water and sugar until mostly dissolved then add in your yeast and allow to sit for at least 5 minutes while you move onto other things.
Sift together only 2 cups of your plain flour and the 1 Tbsp of Matcha. Get your saucepan ready to melt the wet ingredients.
Note: I say go for a hotter warm temperature (if that makes sense). As long as it's not boiling the yeast should be fine, I use to go for what I thought was tepid and the yeast would take a longer time to froth.
Step 2 - Enrichment
Melt the 1/3 cup of butter on your stovetop, take off the heat once it has melted completely. Add in your 1/3 cup of caster sugar and cold 1/2 cup of soy milk. Mix until combined.

Testing the heat of your buttery sugar mixture and making sure it's a nice warm temperature (having the soy milk cold helps speed this process), add the now frothy yeast mix to it and combine again.
Step 3 - Wet to Dry
Once both your wet and dry ingredients are nicely combined, add the wet to the dry.
Carefully fold this through.
Then add the remaining 1/2 cup and 3 Tbsp of plain flour

Step 4 - You Knead me !
Once it gets to the top left pictures state, this is where your hands are going to get involved.

Pop it out onto a nicely floured surface and begin to knead it for around 10 minutes. Add flour where necessary. Once the dough isn't sticky to touch and post-10 minutes, shape it into a ball and pop back into the bowl you mixed it from - oil the bowl and flip the ball of dough around to lightly coat it.
** If you want to make your pinwheels more vibrant - add your green colouring gel while you are kneading the dough to incorporate this easily for an even finish. I forgot to do this and had to add it after the first rise so mine had a green swirl effect which I thought looked great as well! **
Cover with plastic wrap/cling film/ damp tea towel and leave to rise in a warm place for an hour
Relax
for 30 minutes before we start the filling prep or you could start it straight away but the butter may harden and you'll have to reheat it so I suggest some dancing or singing to pass the time. Or you can be practical and clean your working area/ prep your work surface for rolling as well (this why I like the silicon mat it makes life so much easier!)
Step 5 - The Inbetweeners

Preparing the 'Pan Sauce' and Icing
- Melt a heaped 1/4cup of butter (NOTE: this is the total butter noted under the pan sauce, filling and icing) over the stove in the saucepan, once melted, leave 2/3 in the saucepan and pour 1/3 out into a small bowl. With the heat still on add the brown sugar and stir until dissolved. Turn off the heat, add your pinch of salt and stir in - leave to cool.
- Pour just less than 1/2 out into a small bowl/cup - I find higher edges better for this as we are making the icing. Add in the icing sugar using less/more as you please depending on the texture you desire. (This step could also be done at the end leaving the butter to the side for this)
- The one third of only butter is to brush along the dough so the sugar sticks
Matcha filling
- Simply stir together the 2 tsp of Thea Matcha and the 1/2 cup caster sugar.
After an hour/ the dough has doubled in size ...
Preheat the oven to 180C on bake
Step 6 - Butter my Rolls
So if you forget to do it like me it's okay, add the colouring gel now and knead into the dough best you can, shape into a rectangle and proceed to roll out to about a 30x20cm shape dependant on how many swirls you want.

You will need some elbow grease for this as this dough wants to stay put (or I'm just weak).
Butter it up all over (any excess can just be added to your icing mix which is what I did)

Then try to evenly lay your sugar mix all over except the top 2 cm to make sure we can get these rolls to stick together

Roll, Roll Roll

Cut as equally as possible and you should get 12 medium sized pinwheels!
Step 7 - Prove it to me
Pop these into your dish already filled with the luke warm pan sauce, my sauce was a bit on the hotter side so my rolls started to deflate but they ended up fine! Don't be afraid to pour out some butter if need be.
Leave to rise in a warm place / pop back into your warm oven covered with a towel or cling film for 45 minutes
Step 8 - Finally we bake!
After the wait and they have puffed up nicely like below, put them into the middle of a pre heated oven at 175-180C or 350 f and bake for around 25 minutes or until just golden/ more if you like a crunchier top like me. 25 minutes was perfect for the outcome I got. If you prefer yours softer, go for 175 C for 20 minutes, raising it to 180 for the last two for a crunchy top!

Step 9 - Roll into my Mouth
It took a lot to not just eat them straight away while taking photos.. I didn't last long .. You should wait around 10 minutes to chill these down.
Make sure everything's nicely baked through buuuut these are fine taken straight after a few minutes/ the time it takes you to ice and sprinkle Matcha over it.
How I would serve it:
It's great with the icing and Matcha on top to cut the sweetness and just to add more Matcha 'cause why not.
You might want to make 2 batches.. just saying haha
Thea Tips
- You can easily just eye the icing based on how thick you want it to be! I actually did that in this case - so never feel afraid to go a little off measurement :P
- Am I the only one who finds it hard to find a place that is warm for my dough to rise? Thanks to OhSheGlows ( see below) I found putting my oven to 50C on bake to keep my dough in a warm place and lowering to around 20-30 to be safe/ not kill the yeast.
- P. S. (I normally would only do this type of stuff on a nice day - we don't have a water cylinder in my house and don't use heaters lol)
- I baked these and had to freeze some after a day to stop myself from eating them all.. haha they kept well but would say to eat these within a week. Defrost from frozen in the fridge overnight and heat up in the microwave for 20-30secs on med-high or 150C oven for 3-5 minutes. They still turn out amazing!
- When freezing make sure you double wrap them to keep out any icky freezer flavours. I used tinfoil then cling film.
With inspiration and thanks to OhSheGlows Cinammon Rolls recipe. Please make sure you check out her page and share the love!
OhSheGlows recipe has been altered to suit my tastes and kitchen. Please do credit Thea Organics if you do decide to make a Matcha pinwheel using these ingredients. Thank you & happy Matcha baking!


